Roof flashing repair is an essential aspect of maintaining a healthy and secure roof. Roof flashing is a crucial component of any roofing system, as it directs water away from critical areas of the roof, such as joints, seams, and valleys. Over time, roof flashing can become damaged or worn, leading to leaks and water damage.
In this article, we will discuss expert roof flashing repair techniques for homeowners, including the types of roof flashing, common problems, repair techniques, and preventative maintenance.
Types of Roof Flashing
There are several types of roof flashing, each with its own unique properties and benefits. Here are the most common types of roof flashing:
Metal Flashing
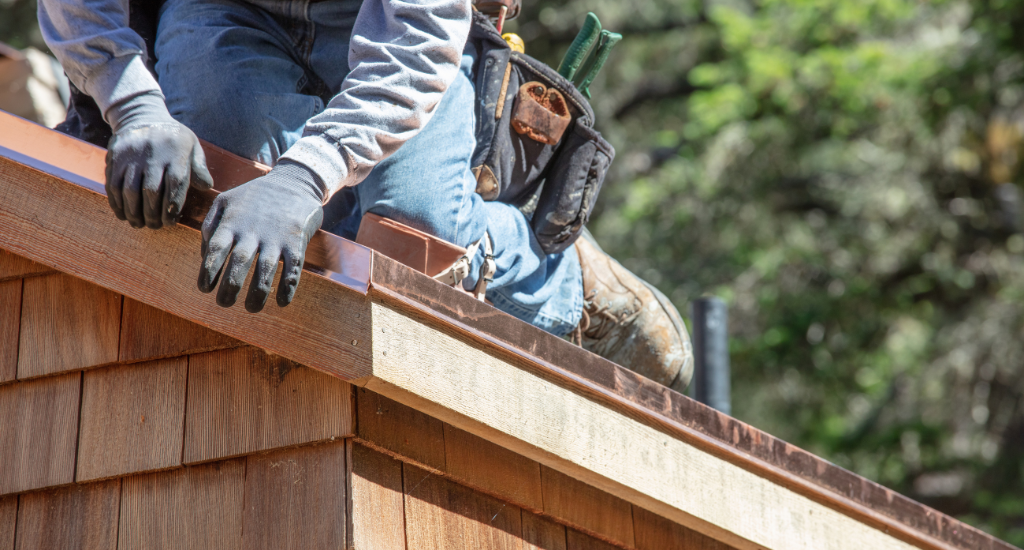
Metal flashing is a popular choice for its durability and longevity. It is often made from materials such as copper, aluminum, or galvanized steel. Metal flashing is resistant to corrosion and can withstand extreme weather conditions. According to the National Roofing Contractors Association (NRCA), metal flashing is a common choice for commercial and residential roofing applications due to its long-lasting properties.
Rubber Flashing
Rubber flashing is a flexible and cost-effective option. It is often used in areas where there is a lot of movement, such as around skylights or chimneys. Rubber flashing is easy to install and can be molded to fit any shape or size. The Rubber Roofing Directory provides a comprehensive guide to rubber roofing and flashing, including installation tips and maintenance recommendations.
Tools and Materials for Roof Flashing Repair
Before you begin repairing your roof flashing, it’s essential to gather the necessary tools and materials. Here is a list of essential tools and materials for roof flashing repair:
- Roofing nails
- Hammer
- Utility knife
- Pry bar
- Putty knife
- Roofing cement
- Metal flashing or rubber flashing
- Caulk gun
- Sealant
Safety precautions and guidelines
When working on your roof, safety should be your top priority. Here are some safety precautions and guidelines to keep in mind:
✔ Wear a safety harness
✔ Use a ladder with stabilizers
✔ Avoid working in wet or icy conditions
✔ Wear appropriate clothing and footwear
✔ Use caution when working near power lines
Roof Flashing Repair Techniques
Here are step-by-step instructions for repairing metal flashing and rubber flashing:
Metal Flashing Repair
- Remove any debris or loose material from the area around the damaged flashing.
- Use a utility knife to cut away any rust or corrosion.
- Apply roofing cement to the back of the new flashing.
- Press the new flashing into place, making sure it overlaps the existing flashing by at least two inches.
- Secure the new flashing with roofing nails.
- Cover the edges of the flashing with sealant to prevent water from seeping in.
Rubber Flashing Repair
- Cut away any damaged or worn rubber flashing.
- Clean the area around the flashing with a wire brush.
- Apply a coat of sealant to the area around the flashing.
- Press the new flashing into place, making sure it overlaps the existing flashing by at least two inches.
- Secure the new flashing with roofing nails.
- Cover the edges of the flashing with sealant to prevent water from seeping in.
Preventative Maintenance for Roof Flashing
Regular inspection and maintenance can help extend the lifespan of your roof flashing and prevent costly repairs. Here are some preventative maintenance tips for roof flashing:
✔ Inspect your roof flashing regularly for signs of damage or wear.
✔ Clean your roof flashing to remove any debris or dirt.
✔ Check for loose or missing nails and replace them as needed.
✔ Seal any gaps or cracks in the flashing with sealant.
✔ Trim any trees or branches that are close to your roof to prevent damage.
When to Hire a Professional for Roof Flashing Repair
While some roof flashing repairs can be done by homeowners, there are times when it’s best to hire a professional roof repair expert. Here are some signs that it’s time to call a professional for roof flashing repair:
- The damage is extensive or complex.
- The flashing is located in a hard-to-reach area.
- You don’t have the necessary tools or experience.
- You’re not comfortable working on your roof.
The benefits of hiring a professional for roof flashing repair include:
✔ Expertise and experience
✔ Safety
✔ Time-saving
✔ Quality of work
When choosing a roofing contractor, be sure to do your research and choose a reputable company with positive reviews and a proven track record.
Master Roof Flashing Repair
Roof flashing repair is an essential aspect of maintaining a healthy and secure roof. By understanding the types of roof flashing, common problems, repair techniques, and preventative maintenance, homeowners can ensure their roofs are protected from water damage and leaks. Whether you choose to repair your roof flashing yourself or hire a professional, always prioritize safety and quality workmanship.
FAQs
How often should I inspect my roof flashing?
It’s recommended to inspect your roof flashing at least twice a year, ideally in the spring and fall.
Can I use any type of sealant for roof flashing repair?
No, you should use a sealant specifically designed for roofing applications.
How long does roof flashing typically last?
Roof flashing can last anywhere from 10 to 30 years, depending on the material and environmental factors.
Can I paint my metal roof flashing?
Yes, you can paint your metal roof flashing, but be sure to use a paint specifically designed for metal surfaces.
Is it necessary to replace all the flashing if only a small section is damaged?
No, if only a small section of the flashing is damaged, you can often repair it without replacing the entire piece.