Roof vent pipes are an essential component of your home’s plumbing and ventilation system, but they can also be a common source of roof leaks. A leaking roof vent pipe can lead to water damage, mold growth, and other serious issues if not addressed promptly. Fortunately, fixing a leaking roof vent is a relatively straightforward process that many homeowners can tackle themselves.
In this comprehensive guide, we’ll walk you through the step-by-step process of identifying, diagnosing, and repairing a leaking roof vent pipe. We’ll cover common causes of roof vent pipe leaks, the necessary tools and materials, and provide detailed instructions for making a permanent repair. Whether you’re dealing with a cracked vent boot, deteriorated sealant, or damaged flashing, this guide has you covered.
Identifying a Leaking Roof Vent Pipe
The first step in fixing a leaking roof vent is to identify the source of the leak. Here are some common signs that you have a leaking roof vent:
- Water Stains on Ceiling or Walls – One of the most obvious signs of a roof vent leak is water stains on the ceiling or walls near the vent pipe. These stains may be discolored or even show signs of mold growth.
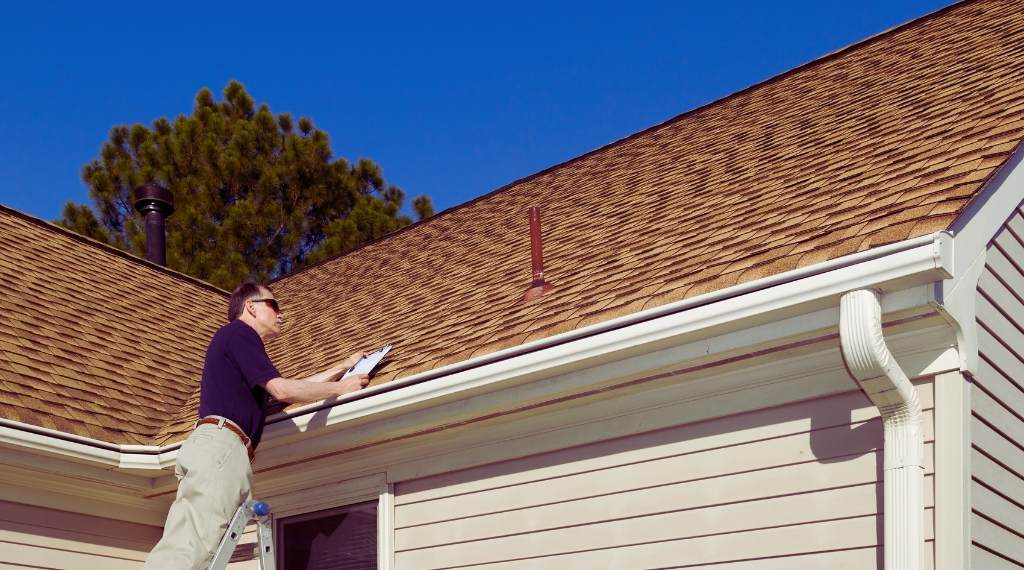
- Visible Damage to Vent Pipe or Flashing – Inspect the vent pipe and surrounding area on the roof for any cracks, holes, or deterioration in the sealant or flashing.
- Musty Odors – A leaking vent pipe can allow moisture to seep into the attic or walls, leading to musty odors.
- Wet Insulation – If the leak is severe, you may even notice wet or damp insulation around the vent pipe.
Once you’ve identified the general area of the leak, you’ll need to do a more thorough inspection to pinpoint the exact source. This may involve climbing onto the roof or using a ladder to get a closer look.
Common Causes of Roof Vent Leaks
There are several common reasons why a roof vent pipe may start leaking. Understanding the underlying cause is crucial for making a lasting roof repair. Some of the most common culprits include:
| Cracked or Damaged Vent Boot | The vent boot is the rubber or plastic flange that seals the vent pipe to the roof. Over time, this boot can crack, shrink, or become damaged, allowing water to seep in. |
| Deteriorated Sealant | The sealant used around the base of the vent pipe can crack and wear away, breaking the waterproof seal. |
| Damaged Flashing | The metal flashing that surrounds the vent pipe and seals it to the roof can become corroded, loose, or damaged, leading to leaks. |
| Improper Installation | If the vent pipe was not properly installed or sealed during the initial roofing work, it’s more prone to developing leaks over time. |
| Roof Damage | Damage to the roof shingles or underlayment around the vent pipe can also allow water to penetrate and cause leaks. |
| Condensation | In some cases, the temperature difference between the warm vent pipe and the cooler attic air can cause condensation to form, leading to a slow, steady leak. |
Identifying the root cause of the leak is crucial for making a lasting repair. Let’s move on to the tools and materials you’ll need to fix a leaking roof vent pipe.
Tools and Materials Needed
To repair a leaking roof vent, you’ll need the following tools and materials:
Tools:
- Ladder
- Safety harness (if working on a steep roof)
- Utility knife or putty knife
- Caulk gun
- Roofing nails or screws
- Hammer
- Pry bar
Materials
- Roof sealant or caulk (100% silicone or polyurethane-based)
- Roof flashing (if replacing)
- Vent pipe boot or collar (if replacing)
- Roofing underlayment (if replacing)
- Roofing shingles (if replacing)
It’s important to use high-quality, weatherproof sealants and materials designed specifically for roofing applications. Avoid using standard household caulks or sealants, as they may not hold up to the elements.
Step-by-Step Roof Vent Leak Repair
Now that you have the necessary tools and materials, let’s walk through the step-by-step process for fixing a leaking roof vent pipe:
1. Safely Access the Roof
Safety should be your top priority when working on a roof. Use a sturdy ladder to access the roof, and consider using a safety harness if you’re working on a steep or slippery surface. Wear non-slip shoes and take care when moving around on the roof.
2. Inspect the Vent Pipe and Surrounding Area
Closely inspect the vent pipe and the area around it for any visible signs of damage or deterioration. Look for cracks in the vent boot, loose or missing flashing, and any gaps or holes in the sealant. Also, check the condition of the shingles and underlayment surrounding the vent.
3. Remove Old Sealant and Flashing
If the vent boot or sealant is cracked or worn, use a utility knife or putty knife to carefully remove the old material. Be gentle to avoid damaging the surrounding roofing components. If the flashing is also damaged, you may need to pry it up and remove it as well.
4. Clean the Vent Pipe and Roof Surface
Once the old sealant and flashing have been removed, thoroughly clean the vent pipe and the surrounding roof surface. Use a wire brush or sandpaper to remove any remaining sealant or debris, ensuring a clean, dry surface for the new materials.
5. Apply New Sealant or Caulk
Using a high-quality, 100% silicone or polyurethane-based roof sealant or caulk, apply a generous bead around the base of the vent pipe, overlapping the existing roof surface by at least 2-3 inches. Smooth the sealant with a putty knife to ensure a uniform, waterproof seal.
6. Install New Vent Boot or Collar (if needed)
If the existing vent boot or collar is cracked or damaged, you’ll need to replace it. Slip the new boot or collar over the vent pipe, ensuring it fits snugly and aligns with the existing roof profile. Secure it in place with roofing nails or screws, and apply additional sealant around the edges to create a watertight seal.
7. Replace Flashing (if needed)
If the existing flashing is damaged, you’ll need to replace it. Carefully pry up the old flashing, being careful not to damage the surrounding shingles. Install the new flashing, overlapping it with the existing roofing material and securing it in place with roofing nails or screws. Seal the edges with roof sealant.
8. Repair or Replace Surrounding Roofing (if needed)
If the roof shingles or underlayment around the vent pipe are damaged, you may need to repair or replace them. Carefully remove any damaged shingles, and install new ones, overlapping the existing roofing material. If the underlayment is damaged, you may need to replace it as well.
9. Seal and Secure the Repaired Area
Once all the new components are in place, apply a final layer of roof sealant around the edges of the vent pipe, flashing, and any exposed nails or screws. This will help create a seamless, waterproof seal.
10. Inspect and Monitor the Repair
After completing the repair, take a final walk around the roof to ensure everything is properly sealed and secured. Monitor the area over the next few days and weeks for any signs of continued leakage or water damage.
Tips for Successful Roof Vent Leak Repair
Here are some additional tips to help ensure a successful and long-lasting roof vent leak repair:
| Use the Right Materials | As mentioned earlier, it’s crucial to use high-quality, weatherproof sealants and roofing materials designed for the job. Avoid using standard household caulks or sealants, as they may not hold up to the elements. |
| Prepare the Surface Properly | Thoroughly cleaning and preparing the surface before applying new sealant or flashing is essential for creating a strong, durable bond. |
| Overlap Seams and Edges | When installing new flashing or sealant, be sure to overlap the edges and seams by at least 2-3 inches to create a continuous, waterproof barrier. |
| Consider Roof Ventilation | If the leak is caused by condensation, improving the overall ventilation in the attic or roof space may help prevent future leaks. |
| Inspect Regularly | Regularly inspecting your roof vent pipes and the surrounding area can help you catch any issues early, before they turn into major leaks. |
| Hire a Professional if Needed | If the damage is extensive or you’re uncomfortable working on the roof, it’s best to hire a professional roofing contractor to handle the repair. |
By following these steps and tips, you can effectively fix a leaking roof vent pipe and prevent further water damage to your home.
Seal the Leak Using This Complete Roof Vent Pipe Repair Guide
A leaking roof vent pipe can be a frustrating and potentially costly problem, but it’s one that many homeowners can tackle themselves with the right knowledge and tools. By identifying the source of the leak, using the proper materials, and following a step-by-step repair process, you can make a lasting fix and protect your home from water damage.
Remember to prioritize safety when working on the roof, and don’t hesitate to call in a professional if the job seems too complex or dangerous. With a little bit of DIY know-how, you can keep your roof vent pipes in top condition and enjoy a dry, well-ventilated home for years to come.